
🌰 No-Bake Energy Balls — An Easy First Recipe for Children
No oven. No waiting around. Just a bowl, some oats, and proper hands-in-the-mixture stuff. A recipe that almost can’t go wrong — and one of the best first recipes for building kitchen confidence fast.
📋 What’s on this page
The Learning Woven Through
No-bake recipes are my go-to suggestion for parents who are nervous about starting to cook with their children. No oven, minimal waiting, genuinely hands-on — and this one almost can’t go wrong. As you make it together, look out for the little green 🌱 Learning woven in notes below — they show you exactly what’s developing and what to gently encourage in the moment.
🛡️ Safety Notes
- Wash hands and wipe the worktop before starting.
- Check for nut allergies — swap to sunflower seed butter or tahini if needed.
- Whole nuts, large chocolate chips and dried fruit can be a choking hazard for young children — chop or swap accordingly.
- Honey is not suitable for children under 1 — use maple syrup instead.
- If your child dislikes sticky textures, use spoons throughout — no need to touch the dough at all.
🧑🍳 Tools & Equipment
Some of the links below are affiliate links — if you buy through them I may earn a small commission, at no extra cost to you. I only ever suggest things I genuinely use and love. Full disclaimer.
- A large mixing bowl
- A wooden spoon or sturdy spatula
- Measuring cups or kitchen scales
- A tablespoon
- A tray or plate for chilling
🛒 Ingredients
- 200g (2 cups) rolled oats
- 4 tbsp nut butter (or sunflower seed butter / tahini)
- 4 tbsp honey or maple syrup
- ~4 tbsp mix-ins of choice — chocolate chips, raisins, shredded coconut, chopped dates
Too dry? Add more nut butter. Too sticky? Add more oats. The recipe holds up whatever happens.
🚚 Order Ingredients on Uber EatsStep-by-Step Instructions
Each step shows you how to adapt it for your child’s stage. Find where they are and follow along.
Wash Hands
Wash hands together before touching any food. Build this habit from the very start.
Wipe the Worktop
Wipe down the surface together before you start. A clean workspace is part of cooking — not just the clearing up at the end.
Add the Oats to the Bowl
Tip the oats into the large mixing bowl.
Spoon in the Nut Butter
Spoon the nut butter into the bowl, counting the tablespoons as they go in.
Spoon in the Honey or Maple Syrup
Spoon in the honey or maple syrup. Count the tablespoons together.
Mix Everything Together
Mix the oats, nut butter and honey together with a wooden spoon. This is a real workout — the dough is heavy and sticky. That’s the gross motor work happening.
Choose the Mix-ins
Let your child choose which mix-ins to add. This is a real decision-making moment — and the act of choosing makes them so much more likely to eat the result.
Stir the Mix-ins Through
Stir the chosen mix-ins gently through the dough until evenly distributed.
Roll into Balls
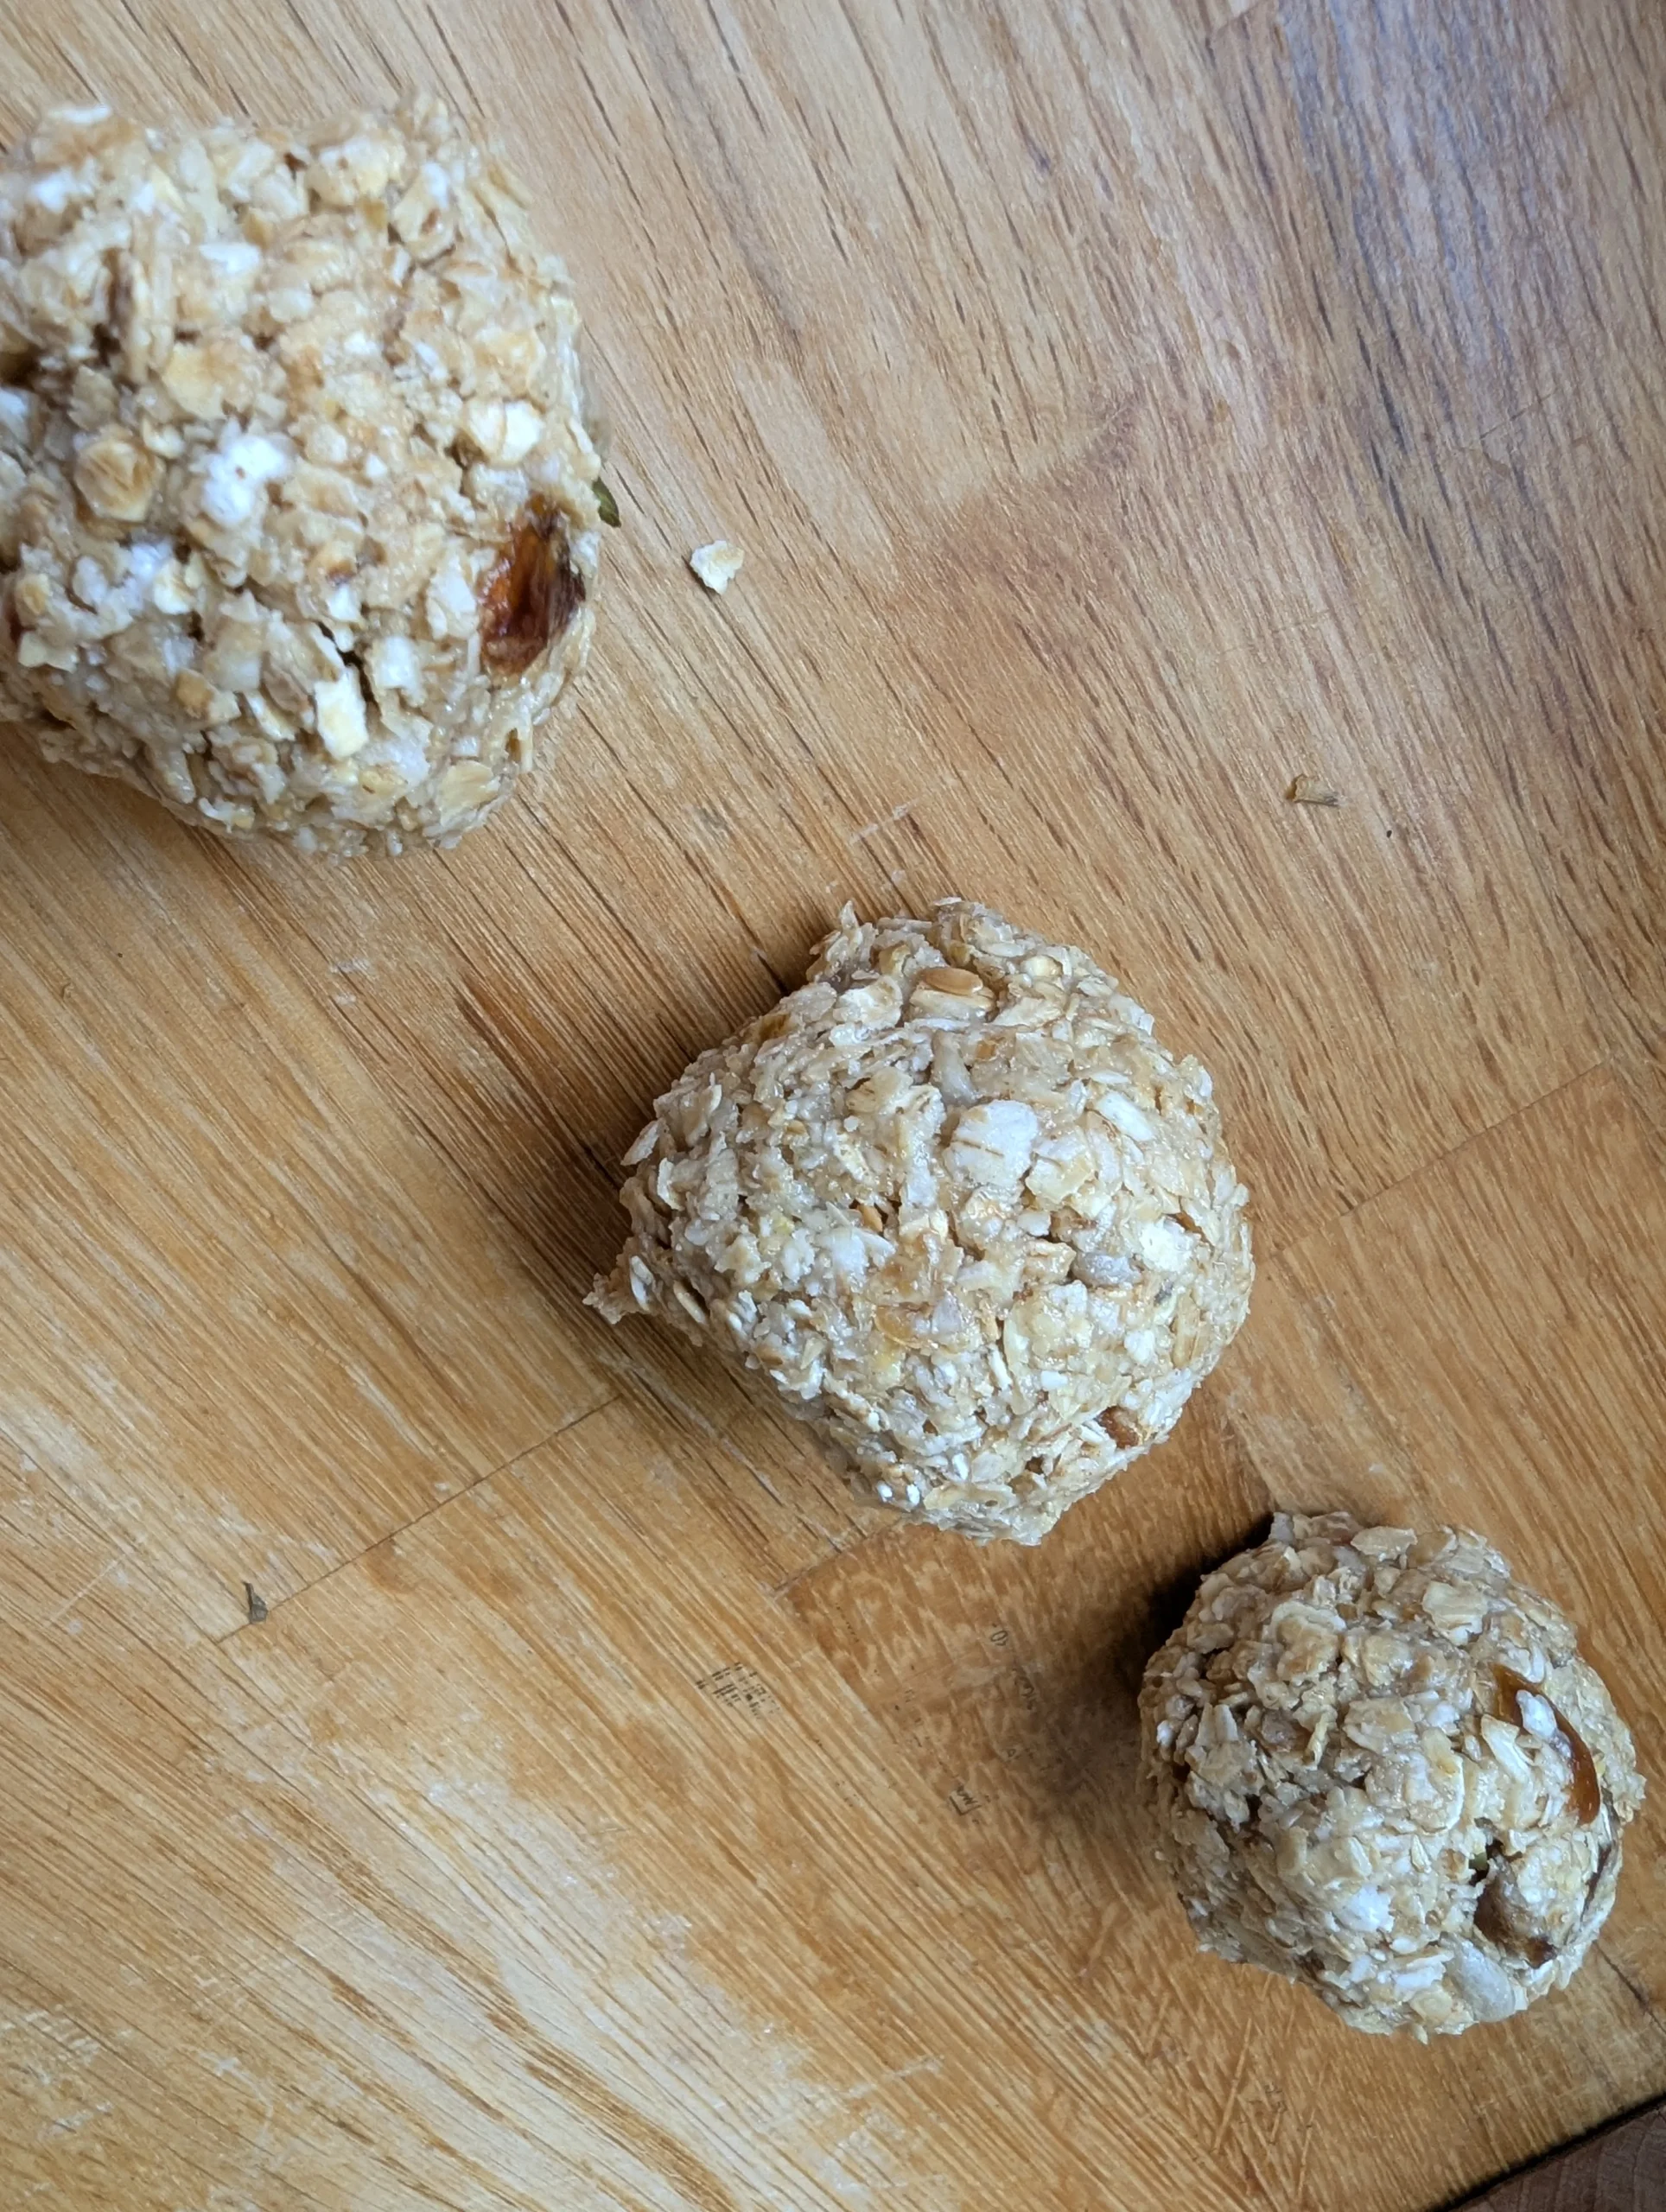
Roll the mixture between your palms into balls roughly the size of a large grape. Mismatched sizes are part of the charm.
Place on the Tray and Count
Place each ball onto the tray. Count them out loud as you go.
Chill in the Fridge
Place the tray in the fridge for 30 minutes to firm up. Set a timer together.
Quick Tidy with Music!
Pop a song on and race to tidy up before it ends. Make tidying part of the fun.
🔬 The Kitchen Science of Binding
The nut butter is the glue. Nut butters are mostly fat, and fat is sticky. When you mix it through the oats, the fat coats every flake and starts to hold them together.
The honey adds more stick. Honey is very sugary and sugar is sticky at room temperature. Stir it through the oats and nut butter and the whole thing becomes one mass.
The chill firms it up. When the mixture goes in the fridge, the fat in the nut butter hardens. That’s why the balls go from squishy-soft to firm-and-poppable. Take one out and leave it on the side for ten minutes, and it’ll soften again — same chemistry, working in reverse.
💡 Tips for Parents
- Too dry? Add a little more nut butter, a tablespoon at a time.
- Too sticky? Add a tablespoon more oats, or chill the bowl for 10 minutes before rolling.
- Child won’t touch the sticky mixture? Use spoons throughout — for mixing, scooping and shaping. No need to touch the dough at all.
- Make it a gift. This is a brilliant recipe for a Little Chef to make for Grandma, a teacher, a neighbour. The pride goes a long way.
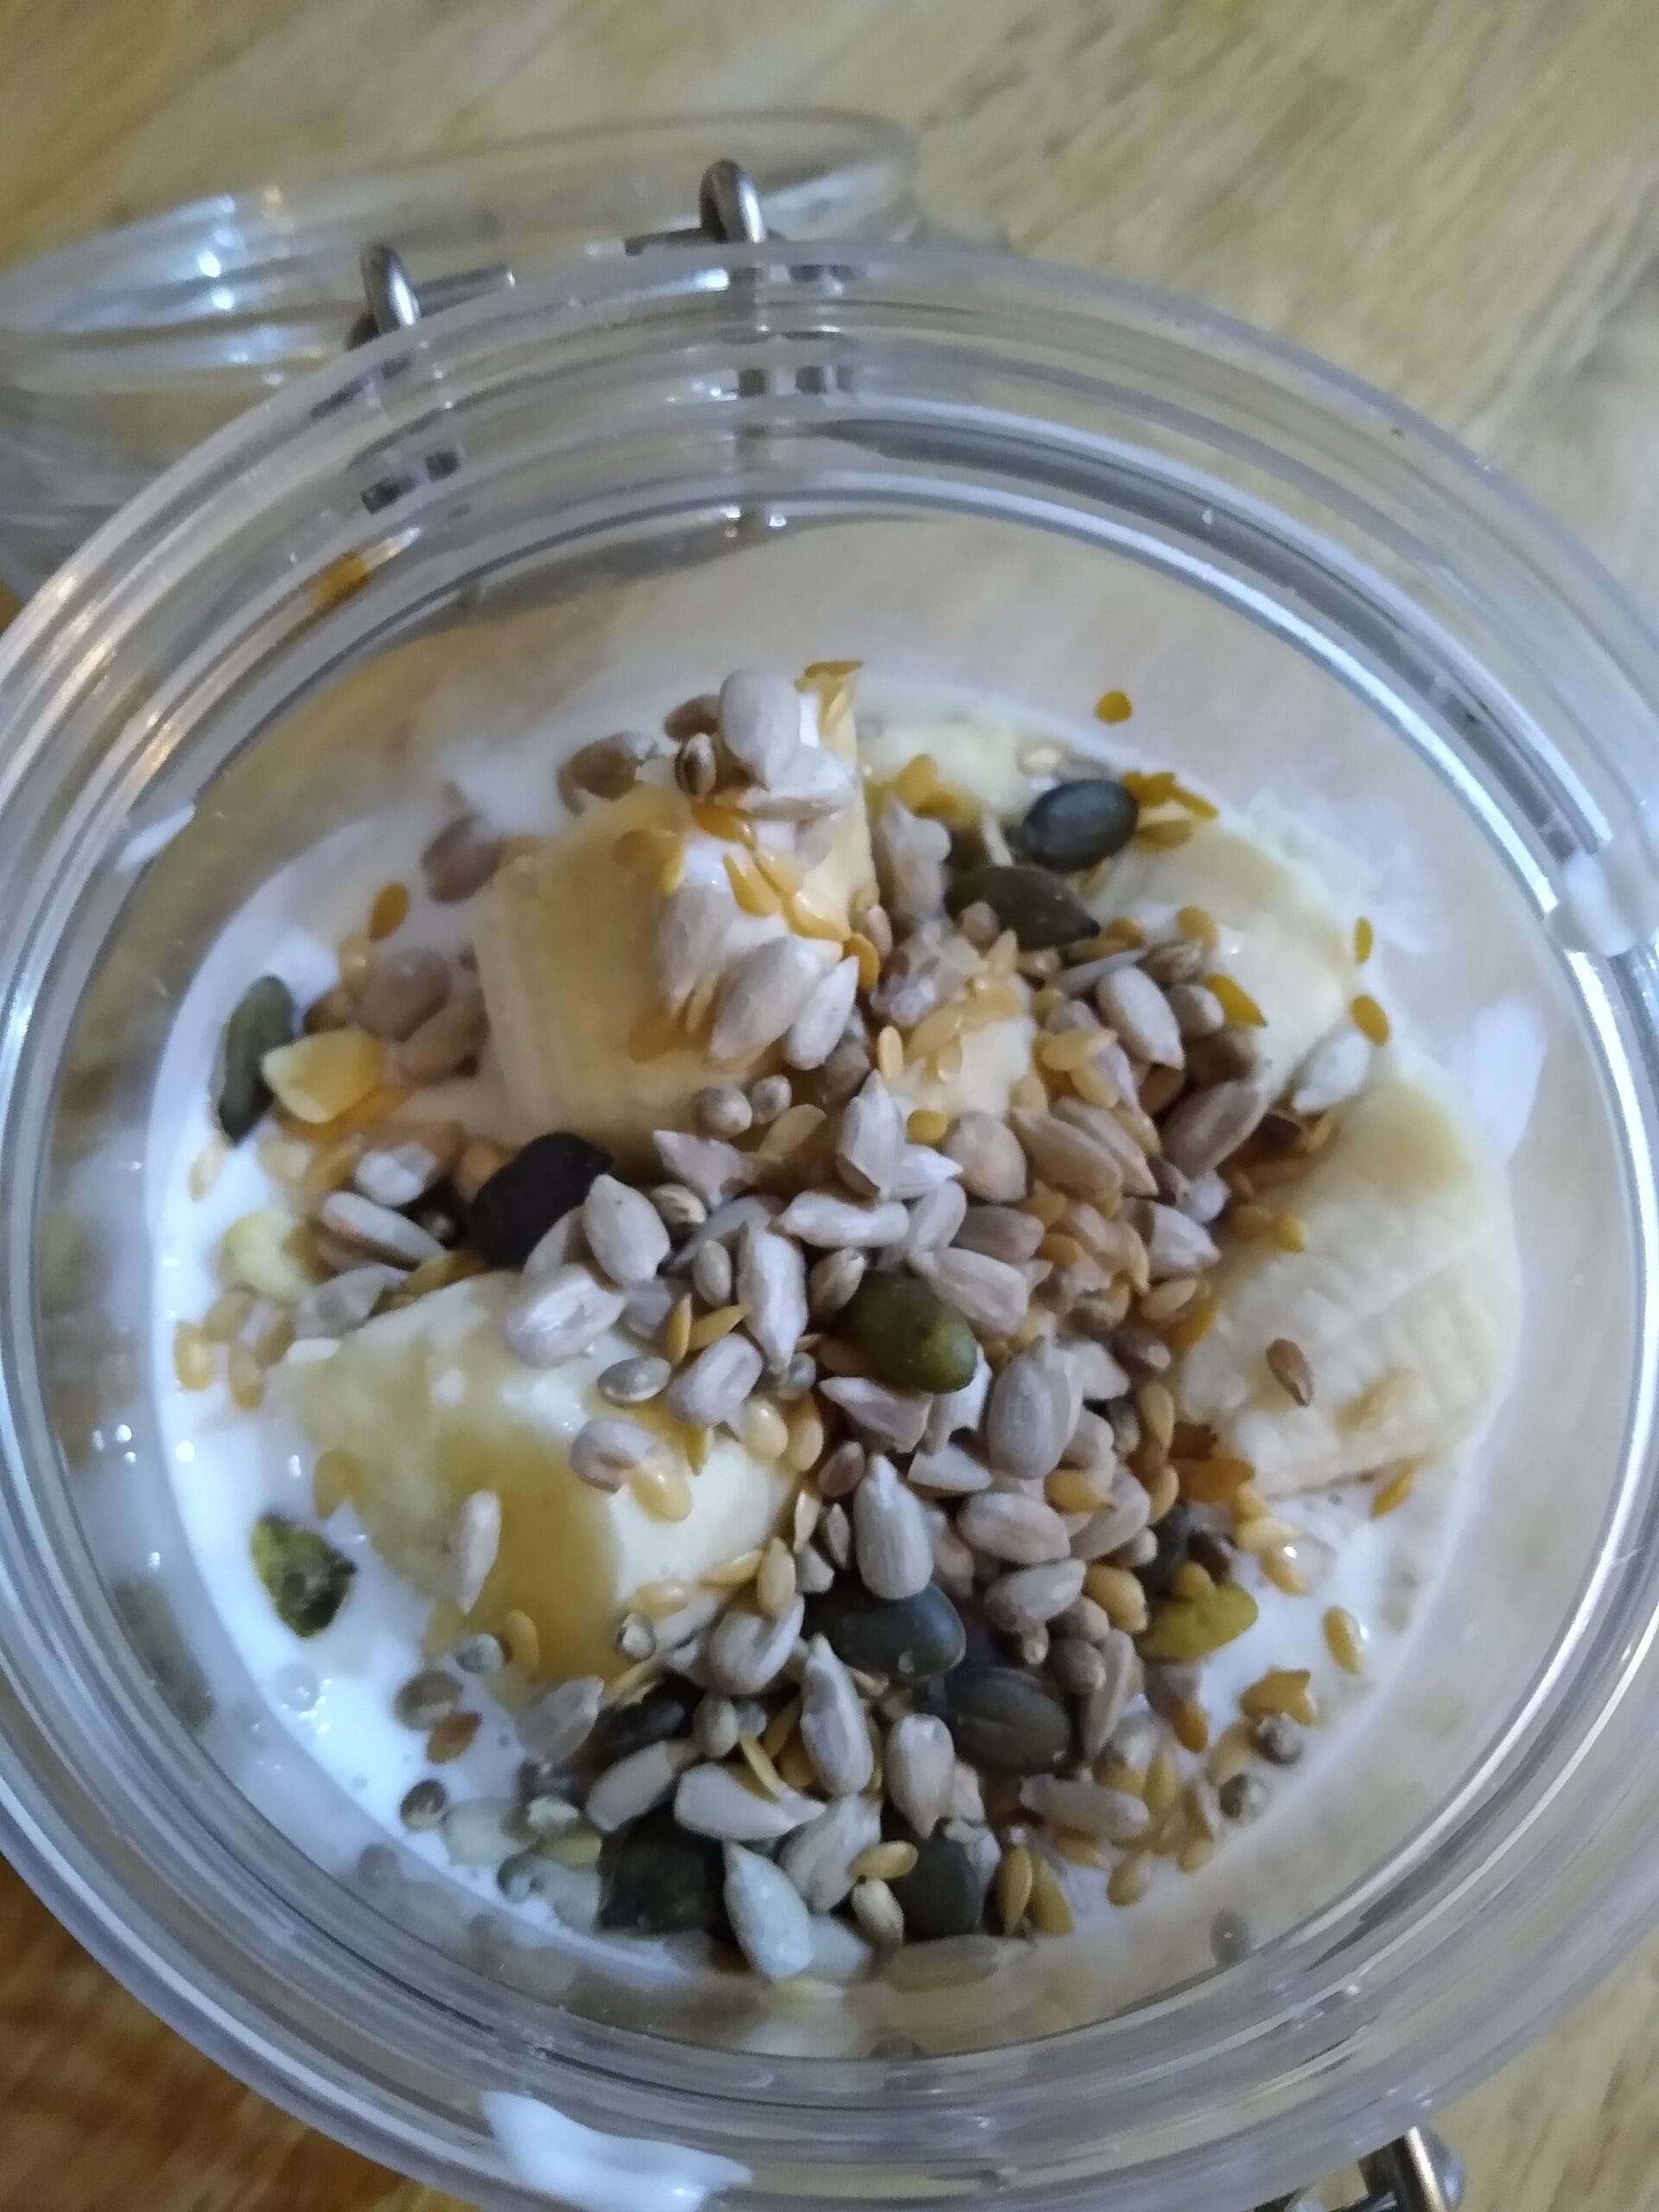
- Want a no-cook breakfast next? Try our overnight oats recipe — same Stages approach, made the night before.
Frequently Asked Questions
Can I make these without nuts?
Absolutely. Swap the nut butter for sunflower seed butter or tahini — both work beautifully and are suitable for nut-free school lunchboxes.
How long do they keep?
About a week in the fridge in a sealed container. They freeze brilliantly too — pop them in a freezer bag and thaw when needed.
My mixture won’t stick together — what do I do?
Add a little more nut butter, a small amount at a time. If it gets too sticky, add a tablespoon more oats and keep adjusting until the texture feels right.
Are these suitable for toddlers?
Yes — but be mindful of the mix-ins. Whole nuts, large chocolate chips and dried fruit can be a choking hazard. Use smooth nut butter and skip honey for under-1s.
Can I make these vegan?
Yes. Use maple syrup instead of honey, and choose dairy-free chocolate chips. The recipe works exactly the same.

One Bowl, A Whole Lot of Learning
That’s the heart of Stages Not Ages — a simple snack becomes counting, measuring, mixing muscles and the quiet pride of “I made these myself”. Find where your child is today, hand them the next step, and let the learning happen on its own.
Want More Stage-by-Stage Recipes?
The Dinky Bakers Starter Kit has five beginner-friendly recipes with stage-by-stage job lists, conversation prompts and parent tips — the perfect next step after your first batch of energy balls.
Get the Starter Kit — £9 →Or grab the free Stages Not Ages Mini-Guide to try it first.