🧁 Lemon Muffins — An After-School Bake That Helps Handwriting
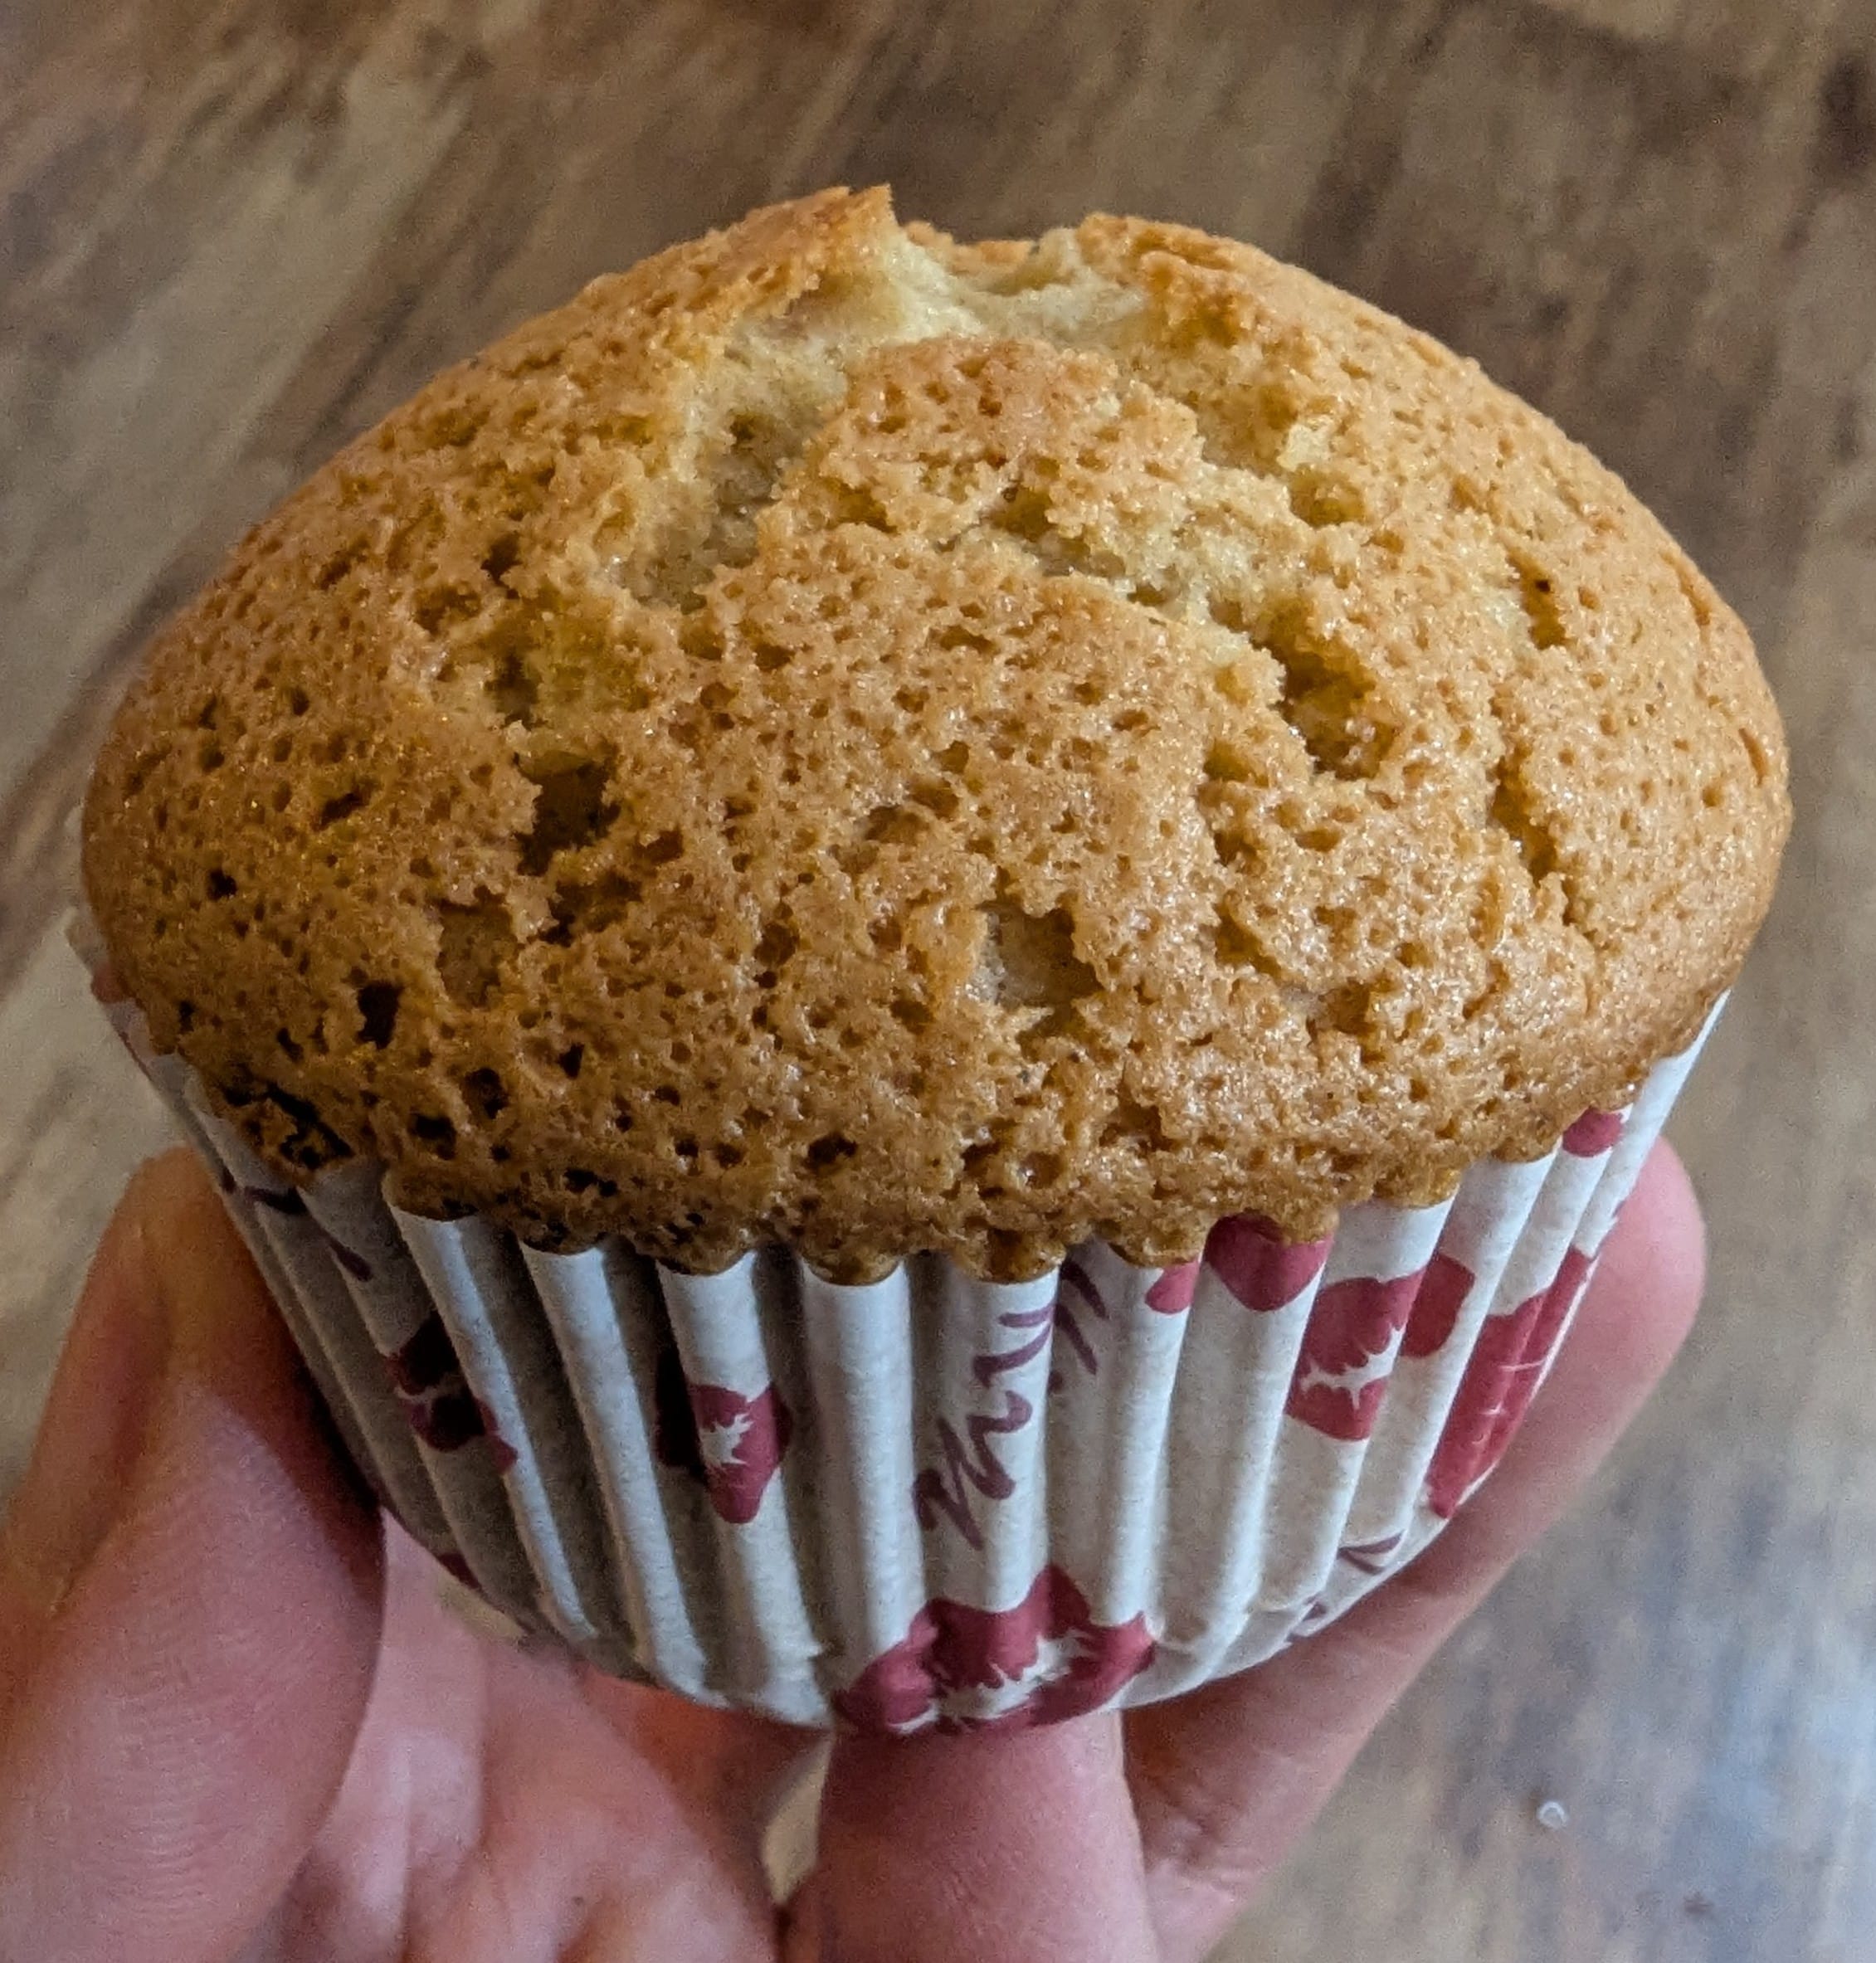
Quick, light, and these Lemon Muffins smell incredible while baking. Quite sneakily all that whisking, sieving and grating is a brilliant workout for the muscles your child uses to hold a pencil. A snack and a fine motor session in one bowl.

📋 What’s on this page
The Learning Woven Through
You’d never look at a lemon muffin recipe and think “this is helping my child write more neatly” but honestly, it really is. Whisking, sieving, grating and spooning mixture are all genuine fine and gross motor practice, building the exact hand and wrist muscles behind a good pencil grip. As you bake these lemon muffins together, watch for the green 🌱 Learning woven in notes, they show what’s developing at each step.
🛡️ Safety Notes
- Wash hands and wipe the worktop before starting.
- The oven is hot and an adult handles putting muffins in and taking them out.
- Avoid using a Microplane — they’re extremely sharp and easily catch fingertips. A traditional zester (the kind with five small holes) is much safer for children, but still needs close supervision at Little Chef stage.
- Check for allergies — this recipe contains egg and gluten.
- Let the muffins cool before you tuck in.
🧑🍳 Tools & Equipment
Some of the links below are affiliate links — if you buy through them I may earn a small commission, at no extra cost to you. I only ever suggest things I genuinely use and love. Full disclaimer.
- Mixing bowl
- Whisk
- Sieve
- Traditional lemon zester (the small tool with five round holes — not a Microplane)
- Scales
- Dessert spoon
- 6-hole muffin tray + cases
🛒 Ingredients
- 2 eggs
- 120g soft light brown sugar
- 120g self-raising flour
- 2 tbsp olive oil
- 1 lemon (zest only)
A five-item shopping list, the kind of thing you can make on a whim with what’s in the cupboard.
Order Ingredients on Uber EatsStep-by-Step Instructions
Each step shows you how to adapt it for your child’s stage. Find where they are and follow along.
Wash Hands
Wash hands together before touching any food. Build this habit from the very start.
Wipe the Worktop
Wipe down the surface together before you start. A clean workspace is part of baking.
Preheat the Oven & Line the Tray
Preheat the oven to 180°C (160°C fan) and line a muffin tray with 6 cases.
Crack the Eggs & Add the Sugar
Crack the eggs into a bowl with the sugar.
Whisk Until Pale and Thickened
Whisk the eggs and sugar together until pale and thickened. A few minutes of proper effort. This is where the air gets in.
Sieve in the Flour
Sieve the flour into the bowl.
Add the Oil and Lemon Zest
Add the olive oil and zest the lemon directly into the bowl. You only need the yellow outer zest — stop when you reach the white pith underneath, as it’s bitter.
Fold Gently
Fold gently with a dessert spoon until just combined. We fold rather than stir to keep the air in the batter.
This will probably be really hard for a lot of our children. The urge to do big, heavy stirs is strong! That’s absolutely fine. But if they can gently tickle the mixture instead, that would be perfect.
Spoon into the Cases
Spoon the batter into the cases, about two-thirds full.
Bake
Bake for 15–20 minutes until risen and golden. Don’t open the oven for the first 12 minutes — the muffins need that heat to rise.
Cool and Enjoy
Cool your lemon muffins on a wire rack — try one warm, not hot, if you can! Cooling on a rack stops trapped steam making them soggy.
Quick Tidy with Music!
Pop a song on and race to tidy up before it ends. Make tidying part of the fun, not a chore at the end.
✏️ Why This Lemon Muffin Bake Helps Handwriting
The muscles your child uses to hold and control a pencil are the small muscles in the hand and wrist — the ones driving the pincer grip and fine wrist movements. This recipe gives them a proper workout: whisking is controlled wrist rotation; sieving is both hands working together against gravity; zesting is precise, repetitive pressure; and spooning batter is pinch, angle and release.
You won’t see results overnight, of course. But regular practice through cooking — once or twice a week — genuinely strengthens those muscles and builds the control your child needs at school. Stronger hands hold a pencil better; it really is that simple. And a Tuesday afternoon batch of lemon muffins is a far more enjoyable practice session than another worksheet.
If you’d like to go deeper, here’s more on how cooking builds fine motor skills.
💡 Tips for Parents
- Whisk properly. Pale, thickened, slightly creamy — that’s the sign enough air is in. Two or three minutes of solid whisking.
- Fold, don’t stir. Once the flour’s in, switch to gentle folding — stirring knocks out the air you just whisked in.
- Don’t overfill. Two-thirds full per case; overflowing muffins look sad.
- Don’t open the oven for the first 12 minutes, they need that initial heat to rise.
- Test with a skewer. Pop one into the centre — if it comes out clean, your lemon muffins are done.
- If whisking gets too hard, take turns or let them hold an electric whisk (you supervising). The strengthening only happens while it’s still fun.
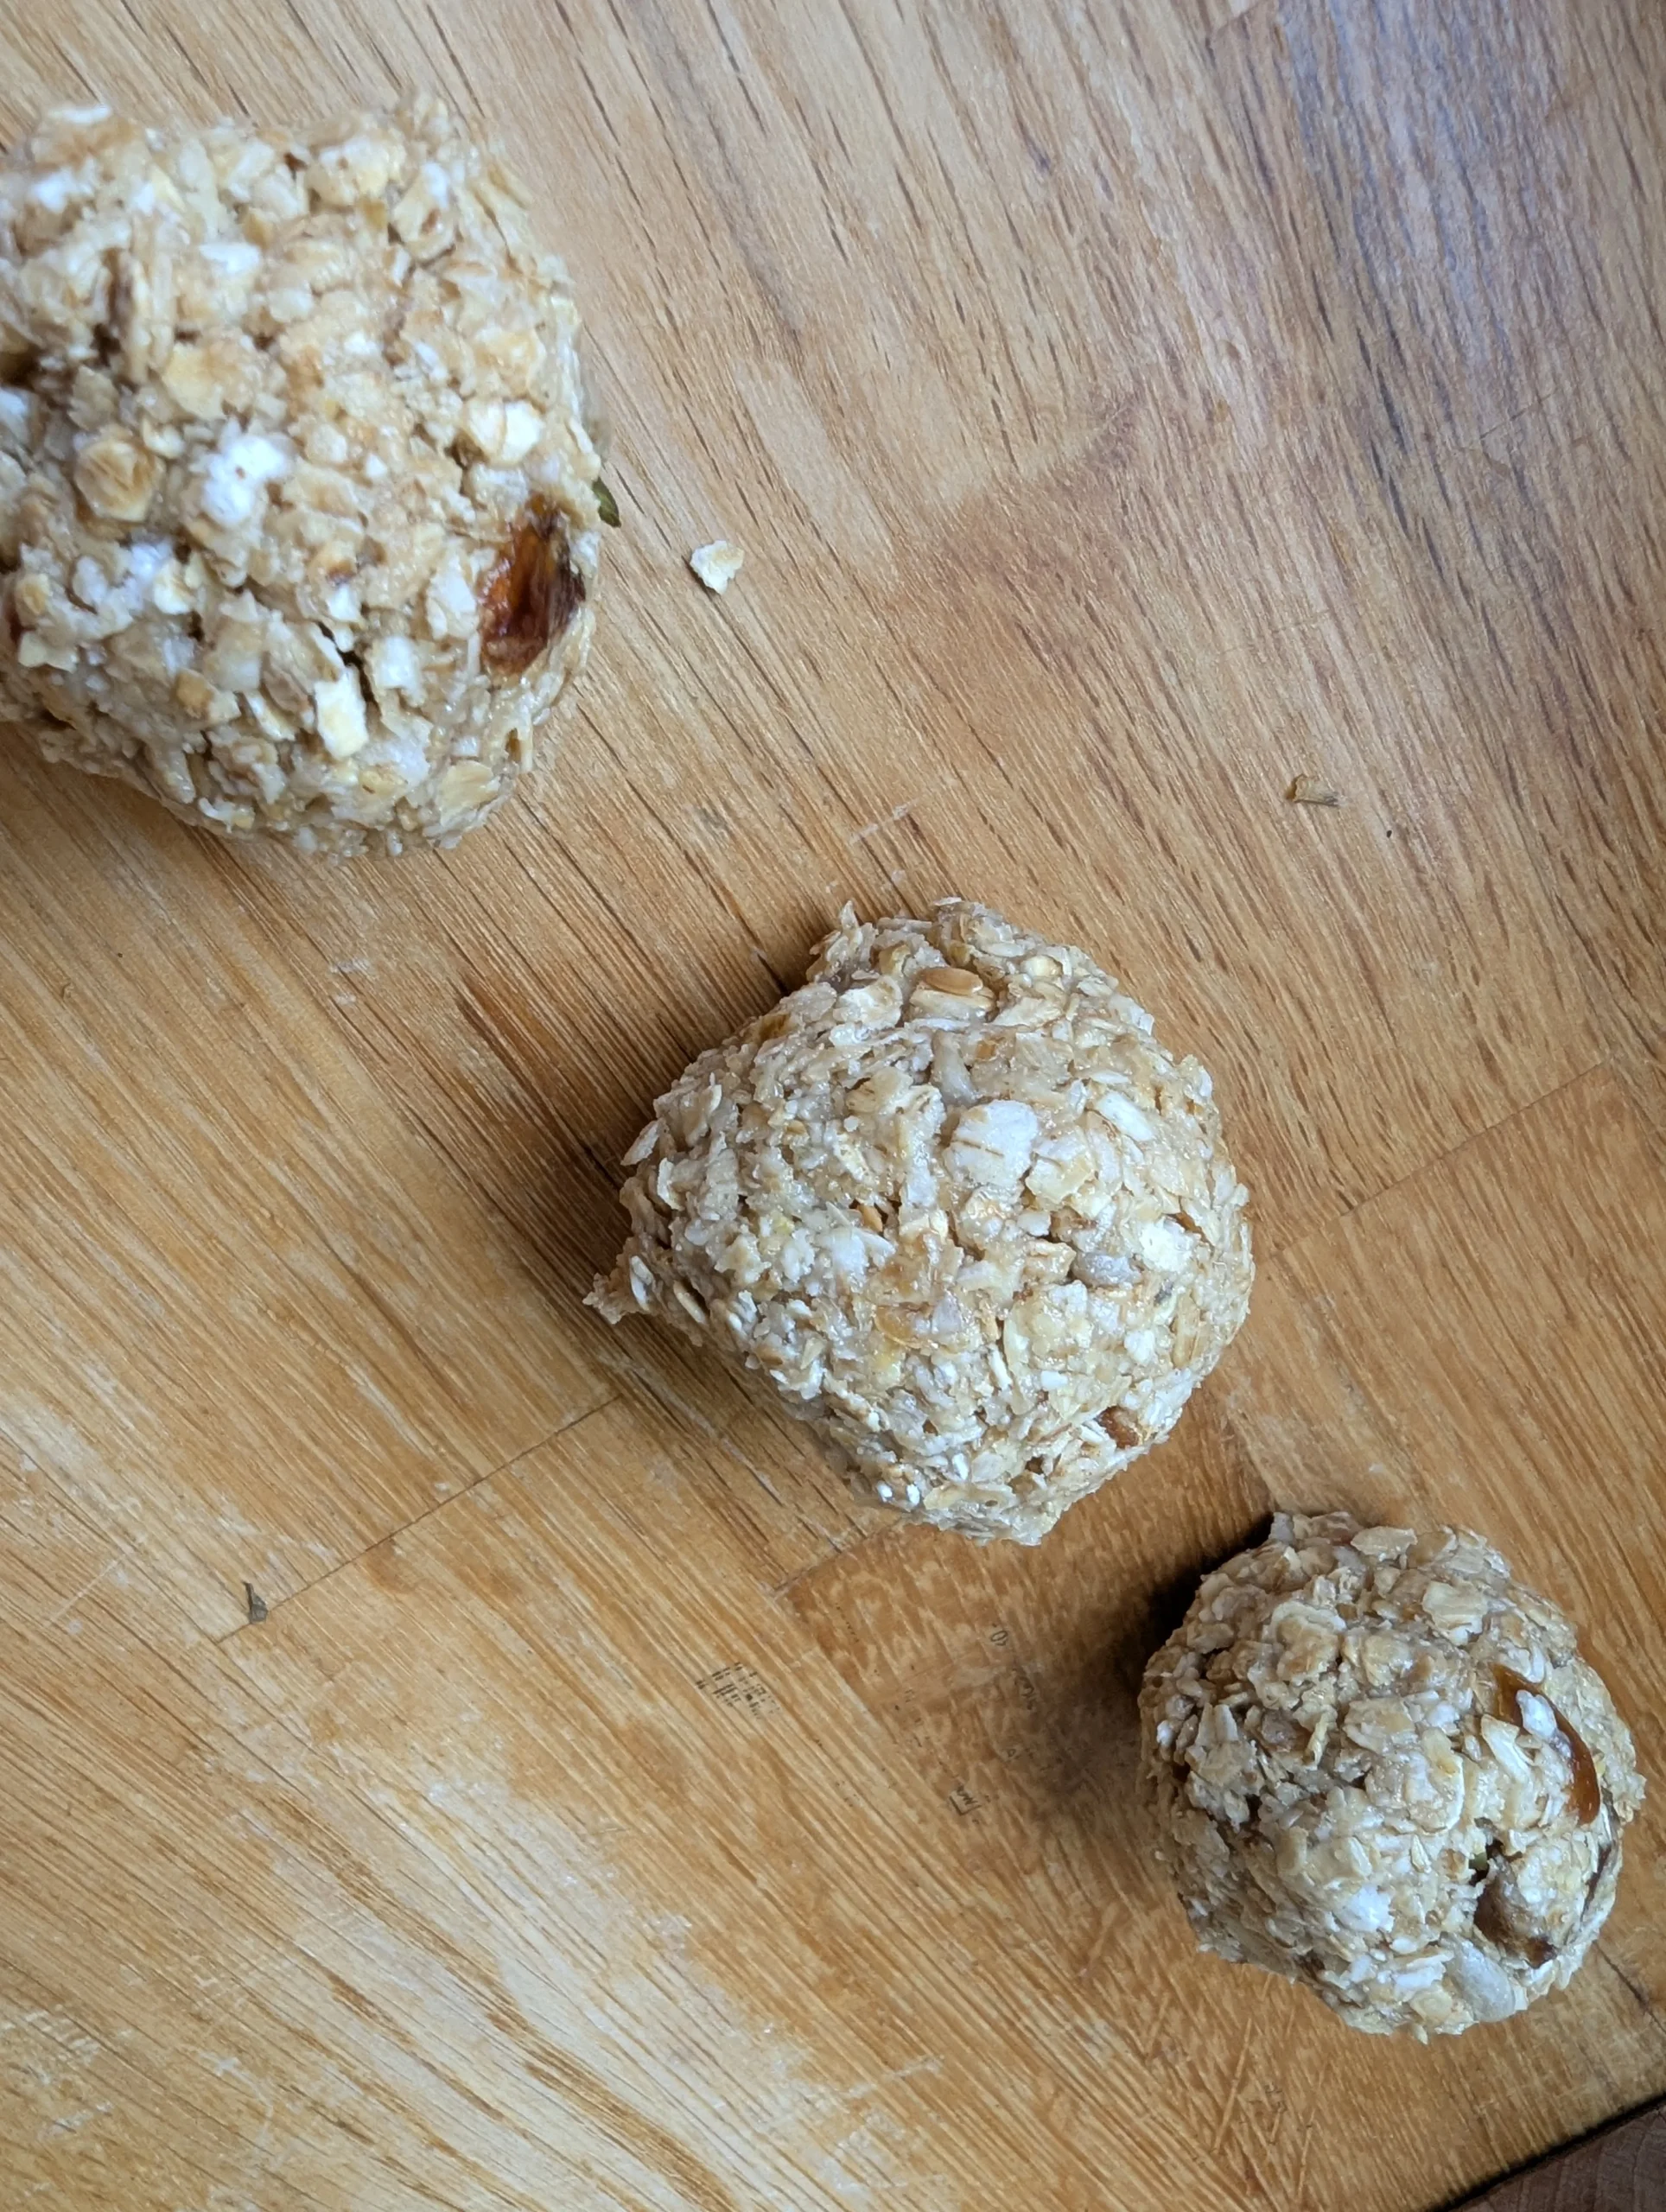
- Want a no-bake option next? Try our no-bake energy balls — same Stages approach, no oven needed.
Grab the Lemon Muffin Conversation Cards
8 little talking-point cards, one for each stage of this recipe — cut them out and keep them by the mixing bowl to pull out at the matching step.
Frequently Asked Questions
Yes — orange zest works beautifully and gives a sweeter, mellower flavour that some children prefer. Lime works too but is sharper. You could even mix two — half lemon, half orange is delicious.
Take it in turns — that’s exactly what whisking is, a real arm workout, and it’s meant to feel effortful. Or switch to an electric whisk and let them hold it (with you supervising). They still get the wrist-control practice without the exhaustion.
Yes — just add 1½ teaspoons of baking powder per 120g of plain flour. The texture will be very slightly different but the muffins will still be lovely.
This recipe is already dairy-free — there’s no butter or milk, just olive oil. For a vegan version, replace each egg with 3 tablespoons of plant-based yoghurt or a flax egg. The texture changes slightly but they still bake up lovely.
Olive oil gives a lovely soft, moist texture and a delicate background flavour that pairs beautifully with the lemon. It’s also dairy-free and means there’s no melting-butter step — one less thing to manage with a child in the kitchen. Use a mild olive oil rather than a strong extra virgin if you have the choice.
In an airtight container at room temperature, they’ll keep for 2–3 days. They also freeze beautifully — pop them in a freezer bag once cool. Defrost at room temperature for an hour or so, or warm gently in a low oven.
Usually one of two things: the eggs and sugar weren’t whisked enough (they need to be properly pale and thickened — that’s where the air comes from), or the batter was over-folded once the flour went in. Whisk longer, fold gently. It can also be tired baking powder if your self-raising flour has been in the cupboard a long time.
I’d save the zesting for Little Chef stage, with you nearby and supervising closely. Use a traditional zester (the small tool with five round holes) rather than a Microplane — Microplanes are razor-sharp and easily catch fingertips, even on adult hands. For Explorer or Helper stage, do the zesting yourself and let them sprinkle it into the bowl — they still get to be involved without the risk.

A Snack and a Skill, in One Bowl
That’s the heart of Stages Not Ages — a simple bake becomes whisking, sieving, measuring and the quiet hand-strengthening behind neat handwriting. Find where your child is today, hand them the next step, and let the learning happen on its own. Did you give them a go? I’d love to hear about any variations — orange, poppy seeds, a little ginger?
Want More Stage-by-Stage Recipes?
The Dinky Bakers Starter Kit has five beginner-friendly recipes with stage-by-stage job lists, conversation prompts and parent tips — the perfect next step after your lemon muffins.
Get the Starter Kit — £9 →Or grab the free Stages Not Ages Mini-Guide to try it first.