Simple Sense of Taste: Exploring With Our Children in the Kitchen
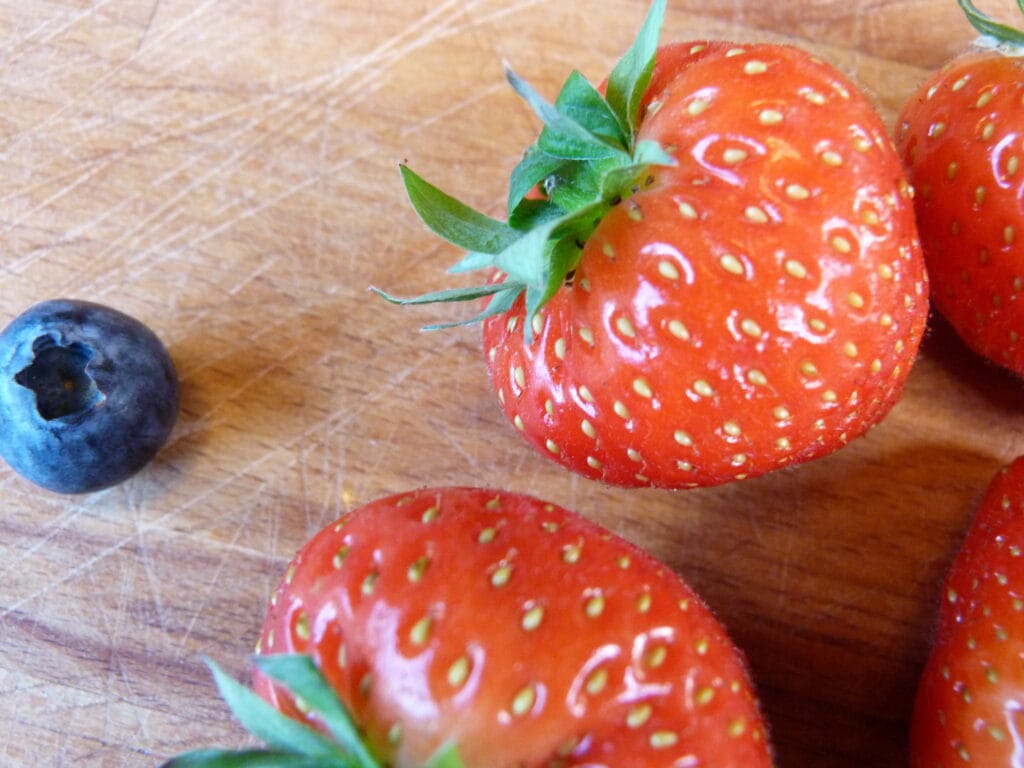
When you start to explore our sense of taste in the kitchen with children, it opens up so many possibilities.
By providing a safe environment for our children to try a small amount of an ingredient, or just to look at it and examine it, we keep the pressure low. And when the pressure to try is super low, children will often taste things all on their own.
Below are some simple, low-pressure ways to make trying foods a fun way to explore the sense of taste in the kitchen. They’re quick to set up, offer a lot and give plenty to think about. They also have lots of gentle learning woven in.
Why exploring taste helps children’s development
Gently exploring the taste of new foods can be very rewarding. Try to keep it low pressure — explore the food, and if they want to try it, they can.
Letting our children explore the taste of new foods without pressure helps create children who are more willing to try new things. Showing different foods and ingredients, and repeating that exposure over time, really can make a difference.
Research on picky eating backs this up: regular, playful exposure without pressure can increase acceptance of new foods. For a helpful summary of this approach, see this piece on food play for picky eaters: Food Play: To help picky eaters try new foods.
Ideas on how to start
- Start with familiar foods, then change one thing. A different cut, spice, or cooking method keeps it feeling safe.
- Offer a tiny bite, often. Ten or more friendly exposures can do the trick for some foods.
- Pair a new food with a “safe” food. This lowers stress and keeps the plate inviting.
- Use calm language. Try “you can taste if you like, the choice is yours” instead of “you must try this.”
- Keep the wins visible. A sticker on a chart, or a simple “you noticed the lemon was sour,” builds pride.
The learning in the kitchen
A simple taste activity quietly builds a surprising amount. Here’s what’s developing while your child thinks they’re just having a nibble:
🔬 What’s really being learned
| Skill | What they’re learning |
|---|---|
| Vocabulary | Words like sweet, sour, tangy, bitter, mellow and umami (savoury). |
| Curiosity | A tiny question “What changed when we added salt?” sparks real interest. |
| Sensory experience | Asking “Will lemon make the water taste sour?”, then tasting and comparing. |
Activity ideas to try this week
Pick one to try this week — each one is simple to set up and easy to keep low-pressure.
🍽️ Label the plate
- Get some paper plates.
- Write words like sweet, salty, sour, bitter and umami on them.
- Put out small portions of different foods.
- Ask your child to match the food to the words. This might bring up some discussion — you may not agree, and that’s the fun of it! It’s about exploring together.
📓 Create a flavour journal
- Get a notebook and some colouring pencils.
- Together, draw the food and label it with a describing word.
- Start with single words and build on it as you go.
- Use describing words like light, bitter, tasty, strong and mild.
🔬 Create a taste-testing station
- Place two tiny samples of the same food — a carrot coin and a steamed carrot.
- Invite a lick, touch, or nibble. No pressure.
- Ask one quick question: “Which one feels softer?”
- Praise the noticing, not the liking.
🌈 A sample mini tasting plate
Using five everyday staples, one for each basic taste:
- Sweet — an apple slice.
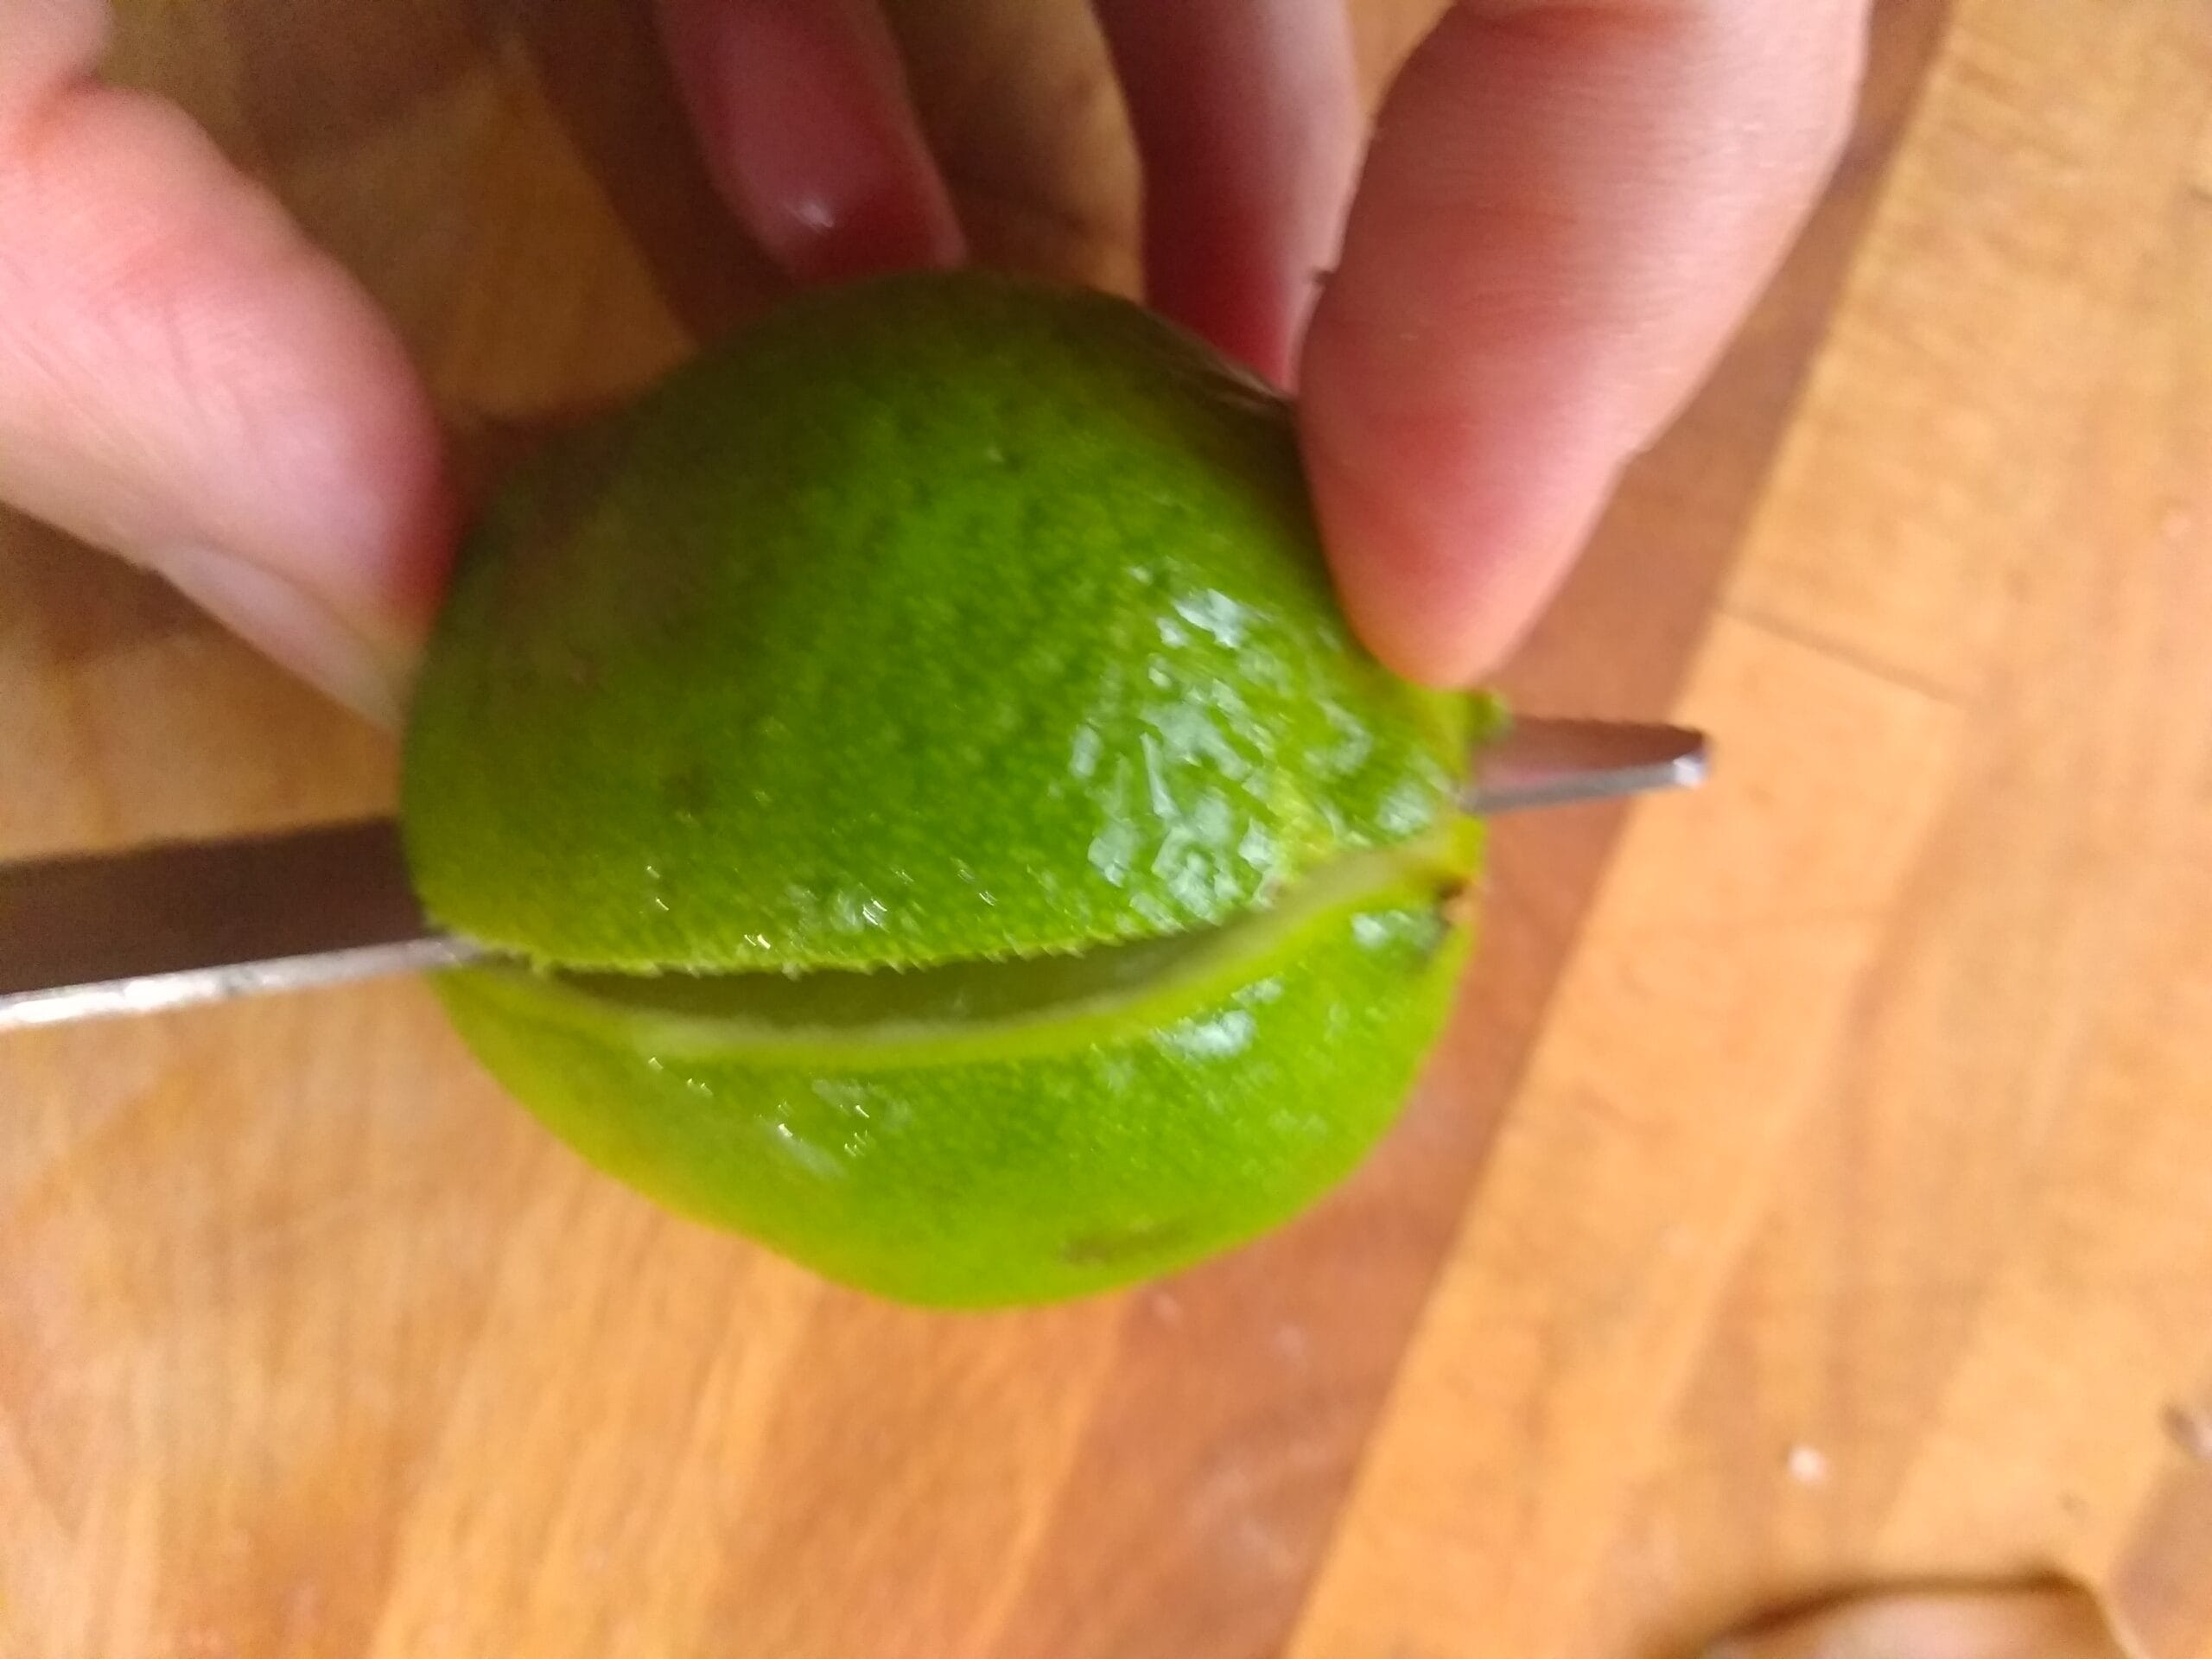
- Sour — a sip of lemon water.
- Salty — a pinch of grated cheddar.
- Bitter — a tiny square of dark chocolate.
- Umami — a parmesan shaving.
Free Printable
Want a Ready-Made Taste Explorers Activity Pack?
💡 Laura’s top tip
If your child only wants to look and not taste, that’s completely fine and still valuable. Looking at, touching and talking about a food is exposure too. Let tasting come on its own, when they’re ready — never as something they have to do.
Conversation starters for the table
Use these questions to keep the learning going while you eat:
- What flavours can you taste? Sweet, salty, sour, bitter or umami (savoury)?
- Is the food crunchy or soft?
- What if we used salt instead of sugar?
- Is there one ingredient that stands out — that you can taste more than the others?
Stage spotlight
Taste exploration suits every child. Here’s how it might look at each stage — use these as a guide, not a rule.
Looking & noticing
- Looks at and touches the different foods
- Smells each one and reacts
- Licks or nibbles a tiny taste if they want to
- Points to the food that matches a colour or word
- Hears the taste words spoken aloud
Naming & matching
- Matches a food to its taste word on the plate
- Tries a small taste and describes it
- Helps set out the tasting samples
- Draws and labels a food in the flavour journal
- Answers a simple “which is softer?” question
Comparing & explaining
- Sets up their own tasting station
- Compares raw vs cooked and explains the difference
- Uses richer words — tangy, mellow, umami
- Predicts what a change (like adding salt) will do
- Keeps an ongoing flavour journal
Frequently Asked Questions
Keep the pressure low. Offer a tiny taste alongside a familiar “safe” food, use calm language like “you can taste if you like, the choice is yours,” and praise the noticing rather than the liking. Repeated, friendly exposure does far more than pushing ever will.
For some foods it can take ten or more relaxed exposures. The key is keeping each one calm and pressure-free, so trying never feels like a test.
Sweet, sour, salty, bitter and umami (savoury). A simple tasting plate might use apple for sweet, a sip of lemon water for sour, a pinch of grated cheddar for salty, a tiny square of dark chocolate for bitter, and a parmesan shaving for umami.
That’s completely fine and still valuable. Looking at, touching and talking about a food is exposure too. Let tasting come on its own, when they’re ready — never as something they have to do.

Ten calm minutes, no pressure 💛
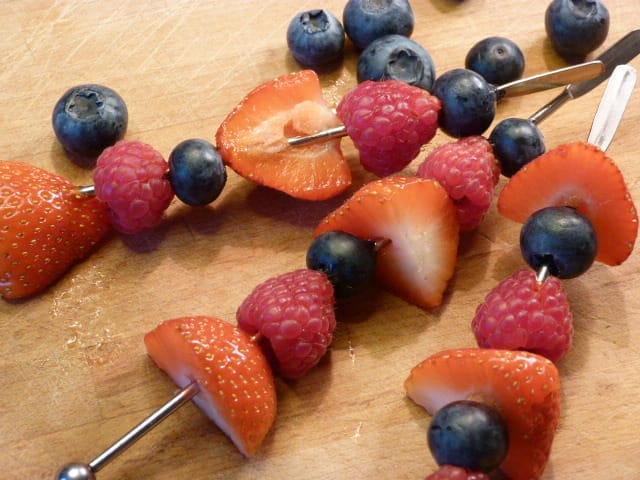
Pick one activity this week and give it ten calm minutes. Set out five tastes and compare them together. There’s no pressure to taste — let’s just explore, and see if the tasting comes on its own. Confidence will grow, and you’ll be smiling. Well, I hope so!
— Laura x